Kubecost with AWS Cloud Billing Integration
This pattern demonstrates how to install and configure Kubecost with AWS CUR report. The terraform code was created following the official Kubecost documentation for aws cloud billing integration.
Prerequisites
You need a valid Kubecost token. To generate one, follow the instructions here.
Deploy
terraform init
terraform apply -target="module.vpc" -auto-approve
terraform apply -target="module.eks" -auto-approve
terraform apply -auto-approve --var="kubecost_token=<your-kubecost-token>"
Once all of the resources have successfully been provisioned, the following command can be used to update the kubeconfig on your local machine and allow you to interact with your EKS Cluster using kubectl.
This command will create a S3 bucket with prefix kubecost- and a Cost and Usage Report (CUR). Within 24h The CUR will generate a CloudFormation template file called crawler-cfn.yml in the S3 bucket. Once that file is generated, navigate to:
To download and apply the CloudFormation template, run:
Kubecost UI
To access the Kubecost UI run:
echo http://$(kubectl -n kubecost get svc cost-analyzer-cost-analyzer \
    -o jsonpath='{.status.loadBalancer.ingress[0].hostname}'):9090/
and then navigate to the output URL.
Navigate to Settings -> Diagnostics -> View Full Diagnostics
Expected result:
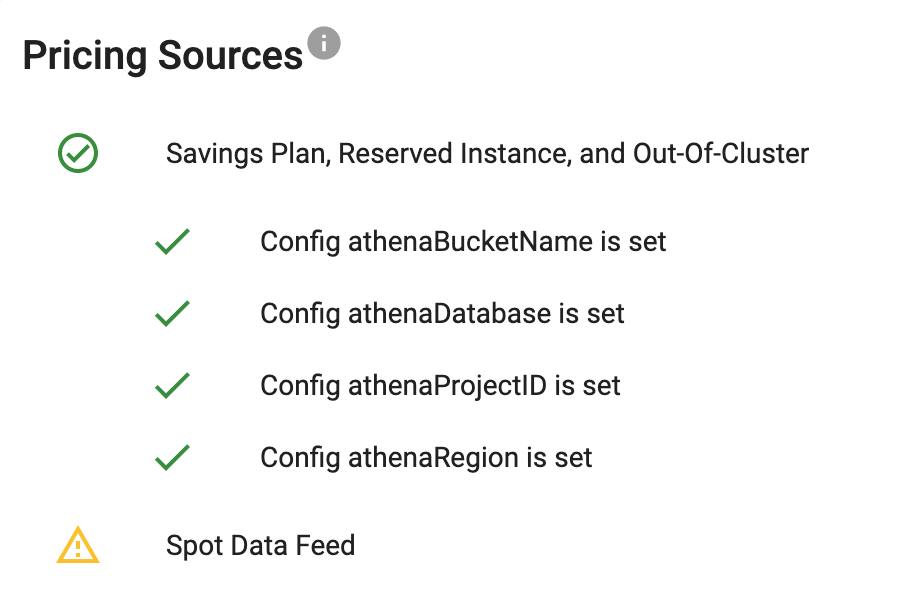
Note
Spot Data Feed is included in Savings Plan, Reserved Instance, and Out-Of-Cluster.
Destroy
First destroy the CloudFormation template:
cd run-me-in-24h/
terraform destroy --auto-approve
cd ..
terraform destroy -target="module.eks_blueprints_addon" --var="kubecost_token=<your-kubecost-token>" -auto-approve
terraform destroy -target="module.eks_blueprints_addons"
terraform destroy -target="module.eks" -auto-approve
terraform destroy -auto-approve